Chasing Light: A Creative Guide to Soulful Landscape Photography
Landscape photography is more than pointing your camera at a pretty view—it’s the art of catching a fleeting conversation between light, weather, and land. Whether you’re shooting with a phone or a full-frame camera, you can learn to read the sky, shape your compositions, and turn ordinary scenes into images that feel alive.
This guide blends practical settings, step‑by‑step techniques, and creative exercises to help you grow—from your first sunrise shoot to your next portfolio‑worthy print.
---
1. Light Before Gear: Seeing Like a Landscape Photographer
Before worrying about the perfect camera, train your eye to chase light.
Landscape scenes change dramatically depending on the quality, direction, and color of light:
- **Golden Hour (shortly after sunrise / before sunset)**: Soft, warm, directional light that adds depth and texture. Ideal for almost everything—mountains, coasts, fields, cities.
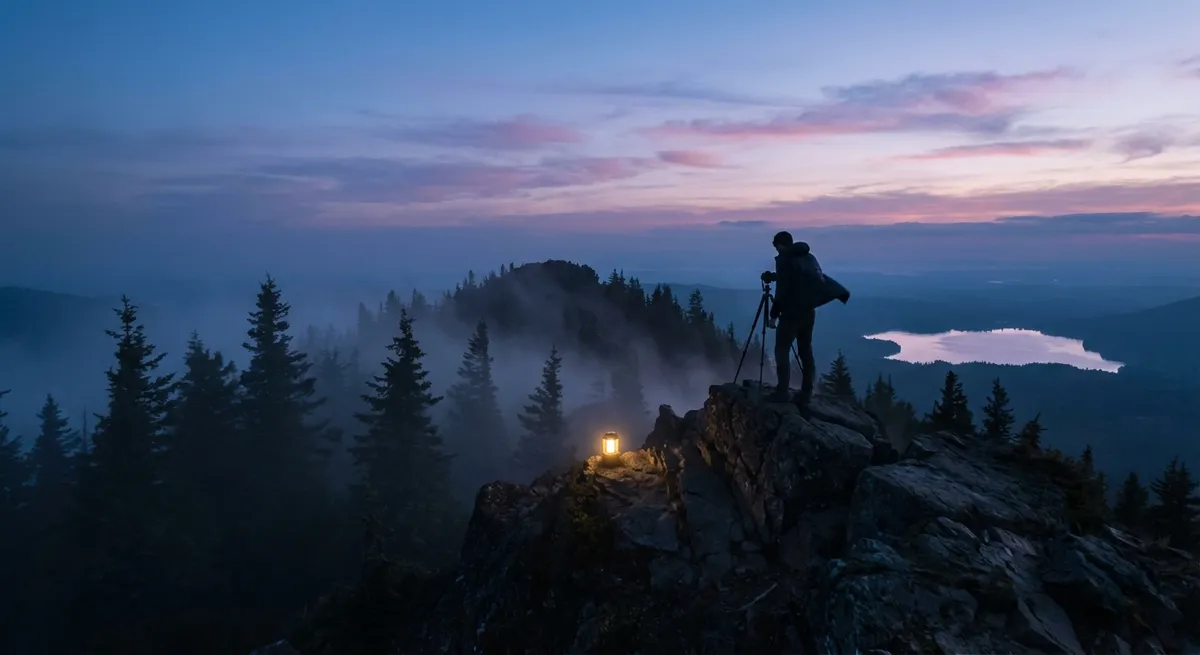
- **Blue Hour (before sunrise / after sunset)**: Cool, gentle light with deep blues and subtle gradients. Great for minimal, moody scenes and silhouettes.
- **Midday Light**: Harsher, high‑contrast light. Use it for bold, graphic compositions, black‑and‑white conversions, or scenes with strong shadows and patterns.
- **Backlighting**: Shooting toward the sun can create glow around trees, mist, or waves. It’s harder to expose but magical when done right.
- **Side Lighting**: Light skimming across the landscape reveals texture in rocks, sand, grass, and clouds.
**Creative Exercise – “One Spot, Many Moods”**
Choose a single location—a hilltop, a lakeshore, even a nearby park. Photograph it:
1. At sunrise
2. At midday
3. At sunset
4. Right after it rains or in fog
Compare the images: how does color, contrast, and atmosphere change? This builds intuition for when to return to a place for its best light.
---
2. Essential Landscape Camera Settings (For Any Camera)
Even if you mostly shoot on auto, learning some core settings gives you control over atmosphere and sharpness. Use these as starting points, then adjust for your scene.
Aperture (Depth of Field)
- **Goal**: Keep most of the scene sharp.
- **Typical range**: **f/8 to f/11** for general landscapes.
- For maximum depth (foreground rock + distant mountains): **f/11 to f/16**, but avoid going too high (like f/22) on smaller sensors, which can soften images due to diffraction.
- For a dreamy foreground or to isolate a subject (a single tree, flower, or rock): use **f/2.8 to f/5.6**.
Shutter Speed
- **Handheld**: Use the “1 / focal length” rule as a minimum.
- At 24mm: aim for **1/30 to 1/60 s** or faster.
- At 70mm: aim for **1/80 to 1/125 s** or faster.
- **Tripod landscapes**: You can use much slower speeds:
- Still scenes: **1/4 s, 1 s, even 30 s** for low‑light.
- Water motion (streams, waterfalls, ocean):
- Silky flow: **0.5–2 seconds**
- Slight texture: **1/8–1/2 second**
- Frozen droplets: **1/500 s or faster**
ISO
- Keep ISO as low as possible for clean files:
- **ISO 64–200** in bright scenes.
- **ISO 400–1600** in low light if handholding.
- If you’re on a tripod, lower ISO and use a longer shutter speed instead of cranking ISO.
Focus
- Turn off “set and forget” mentality—decide **where** you want sharpness.
For classic landscapes:
- Focus about **one‑third into the scene** when using **f/8–f/11**.
- Use **single‑point autofocus** on a mid‑distance object (a tree, rock, or hill).
- For very close foregrounds, consider **focus stacking** (see Section 4).
**Suggested Base Setting for Many Scenes**
- Aperture: **f/8**
- ISO: **100**
- Shutter: Let your camera pick in Aperture Priority (A/Av mode), or adjust manually if you prefer.
- Focus mode: Single shot AF; single point; focus about one‑third into the frame.
---
3. Composition Secrets: From Flat Snapshot to Story
Composition is where you turn a scene into a story. Here are practical tools to move beyond “pretty but flat.”
Lead the Eye
- **Leading Lines**: Use paths, rivers, fences, shorelines, or rows of trees to guide the viewer from foreground to background.
- **Foreground Interest**: Place a rock, flower, puddle, or texture near the bottom of the frame to anchor the scene.
- **Layers**: Look for foreground, midground, and background elements that stack—grass → trees → mountains → sky.
Think in Shapes and Balance
- **Rule of Thirds**: Place key elements (horizon, main tree, sun) roughly along the gridlines rather than dead center.
- **Horizon Placement**:
- Big sky: put the horizon on the **bottom third**.
- Emphasis on land: place it on the **top third**.
- **Visual Weight**: Balance a large dark mountain on the left with a brighter cloud or tree on the right.
Use Negative Space
Minimal scenes with lots of empty sky, water, or fog can be powerful. Give your subject room to “breathe” and let emptiness emphasize mood.
**Creative Exercise – “The Foreground Hunt”**
Go to a wide vista you love. Before taking a single shot, **refuse to zoom in**. Instead:
1. Walk around and lower your viewpoint—kneel, crouch, get close to the ground.
2. Find three different foreground elements (rock, grass, cracked mud, reflection).
3. Compose three images where the foreground takes up at least **one‑third** of the frame.
You’ll immediately feel your landscapes become more immersive and three‑dimensional.
---
4. Sharp from Here to Infinity: Practical Focusing and Stability
Soft landscapes often come from tiny technique leaks—camera shake, misfocus, or wind. Patch those, and your images improve overnight.
Tripod & Stability Tips
- Use a **sturdy tripod** and avoid extending the center column unless necessary.
- Turn off **image stabilization** on the lens/camera when on a tripod (many systems can introduce blur if they’re fighting a stable setup).
- Use a **2–5 second self‑timer** or remote shutter to avoid shake when pressing the button.
- Shield your setup from wind with your body or a jacket; hang a bag from the tripod’s center hook for extra weight if it’s safe.
Hyperfocal & Focus Stacking (Without the Jargon Overload)
To keep everything sharp:
- With a wide lens (14–24mm) and aperture around **f/8–f/11**, focusing **a bit in front of the mid‑distance** usually keeps both foreground and background acceptable.
- If your foreground is **very close** (e.g., flowers a foot away):
- Take one shot focused on the near subject.
- Take another focused on the distant background.
- Blend the two in post‑processing (focus stacking in Lightroom/Photoshop or specialized apps).
**Creative Exercise – “The Sharpness Check”**
On your next outing:
1. Turn on **image review with zoom**.
2. After each composition, zoom in on:
- Foreground
- Midground
- Background
3. Check for blur or missed focus, then adjust settings.
This habit builds a subconscious checklist for sharp, reliable results.
---
5. Motion, Mood, and Weather: Painting with Time
Landscape photography thrives on weather and motion. Don’t wait for perfect blue skies—embrace change.
Long Exposures for Emotion
- **Water**:
- Gentle blur (still some texture): **1/8–1/2 second**
- Classic silky waterfalls: **0.5–2 seconds**
- Misty oceans / dreamy lakes: **5–30 seconds**
- **Clouds**:
- Subtle streaks: **15–30 seconds**
- Strong motion: **1–4 minutes** (requires very dark ND filters).
To achieve long shutter speeds in daylight, use:
- **Low ISO (64–100)**
- **Small aperture (f/11–f/16)**
- **Neutral Density (ND) filter** to cut light.
Weather as Your Collaborator
- **Storms & Clearing Skies**: Dramatic clouds, shafts of light, rainbows.
- **Fog and Mist**: Simplifies busy scenes, layers trees and hills in soft gradients.
- **Fresh Snow or Rain**: Transforms familiar locations; wet ground reflects color from the sky.
- **Wind**: Moves grass, waves, and trees—decide whether you want to freeze or blur it.
**Creative Exercise – “Weather Chase”**
Pick a spot you’ve shot on a clear day. Use weather forecasts:
1. Return just before a storm, or as one clears.
2. Return on a foggy or misty morning.
3. Return after fresh rain or snow.
Photograph the same composition and compare: which mood resonates with your style? This helps you pre‑visualize how different conditions can serve your voice.
---
6. Landscape Photography with a Phone: Pocket‑Sized Possibilities
You don’t need a large camera to make meaningful landscape images. Modern phones are powerful if you use them intentionally.
Practical Phone Tips
- **Lock Focus and Exposure**: Tap and hold on your subject to lock, then slide to adjust brightness.
- **Avoid Over‑Zooming**: Use built‑in ultra‑wide and main lenses; digital zoom often reduces quality.
- **Use HDR Thoughtfully**: It can balance sky and land, but avoid extreme, crunchy looks. If possible, shoot in your phone’s **RAW** or “Pro” mode for more flexible editing.
- **Stabilize**: Brace against a rock, tree, or railing; use a tiny tripod or clamp for long exposures.
- **Shoot at Low Angles**: Drop the phone close to the ground for engaging foregrounds—this alone can transform casual snaps into strong compositions.
**Creative Exercise – “Phone‑Only Sunrise”**
Leave your big camera at home once:
1. Scout a location beforehand.
2. Use your phone at blue hour and sunrise.
3. Focus on composition, light, and storytelling, not specs.
You’ll sharpen your eye and realize that vision matters more than equipment.
---
7. Creative Exercises to Stretch Your Landscape Style
Use these short, repeatable challenges to grow your creativity.
A. The 10‑Frame Limit
At your next location:
- Allow yourself **only 10 photos**.
- No burst mode; every frame must be deliberate.
- Spend more time looking without the camera to your eye.
This trains intention and composition discipline.
B. One Focal Length Day
Pick a single focal length (e.g., **24mm** or a phone’s main lens) and:
- Shoot all day with just that perspective.
- Move your feet instead of zooming.
You’ll start noticing how distance and framing change the story of your scene.
C. Color to Mood
Pick a mood—calm, wild, lonely, hopeful—and:
- Create a series of 5–10 images that express that feeling through:
- Color (warm vs. cool)
- Contrast (soft vs. harsh)
- Composition (open space vs. tight framing)
You’re no longer just documenting landscapes—you’re communicating emotion.
---
Conclusion
Landscape photography is the art of paying attention—to how light kisses a ridge, how water traces a shoreline, how clouds sculpt the sky. Gear and settings matter, but your curiosity, patience, and willingness to return to the same place in different moods matter more.
Start with simple, reliable settings. Learn to see light. Add deliberate composition and small technical habits. Then layer in play: long exposures, weather hunts, phone‑only challenges, and mood‑driven series.
Every outing can be a quiet collaboration between you and the landscape. With time, your images won’t just show where you were—they’ll reveal how it felt to stand there.
---
Sources
- [National Park Service – Photography Tips](https://www.nps.gov/articles/photography-tips.htm) – Practical field advice for photographing landscapes in national parks, including light and composition considerations.
- [Nikon Learn & Explore – Landscape Photography Basics](https://www.nikonusa.com/en/learn-and-explore/a/tips-and-techniques/landscape-photography-tips.html) – Covers foundational settings and techniques specifically for landscape work.
- [Canon USA – Landscape Photography Tutorial](https://www.usa.canon.com/support/explore/landscape-photography-tips) – Guidance on aperture, shutter speed, and composition with example scenarios.
- [Cambridge in Colour – Depth of Field & Hyperfocal Distance](https://www.cambridgeincolour.com/tutorials/depth-of-field.htm) – In‑depth explanation of depth of field and focusing concepts relevant to keeping landscapes sharp.
- [Digital Photography School – Long Exposure Landscape Photography](https://digital-photography-school.com/long-exposure-landscape-photography-beginners-guide/) – Detailed walkthrough of long‑exposure techniques for water and clouds.