Pocket to Pro: Camera Gear Secrets That Transform Your Photos
Photography isn’t about having the “best” camera. It’s about knowing how to dance with the light, understand your gear, and translate what you feel into what others can see. Whether you’re shooting on a phone, a mirrorless, or a well-loved DSLR, the right techniques and a few carefully chosen tools can unlock images you didn’t think you were capable of creating.
This guide is your creative roadmap: practical camera settings, simple breakdowns of tricky techniques, and hands-on exercises you can try today—no studio, no massive budget, just curiosity and a willingness to experiment.
---
Start Where You Are: Matching Gear to Your Vision
Before chasing new gear, clarify what you want to *say* with your photos. Are you drawn to portraits, street moments, moody landscapes, or tiny details?
Think of gear as a vocabulary, not a status symbol. A fast prime lens (like a 35mm f/1.8 or 50mm f/1.8) gives you dreamy background blur and beautiful portraits. A wide-angle (16–24mm range) helps you tell big, immersive stories like landscapes and interiors. A telephoto zoom (70–200mm) lets you compress distance, isolate subjects, and shoot from afar—great for events, sports, and candid moments.
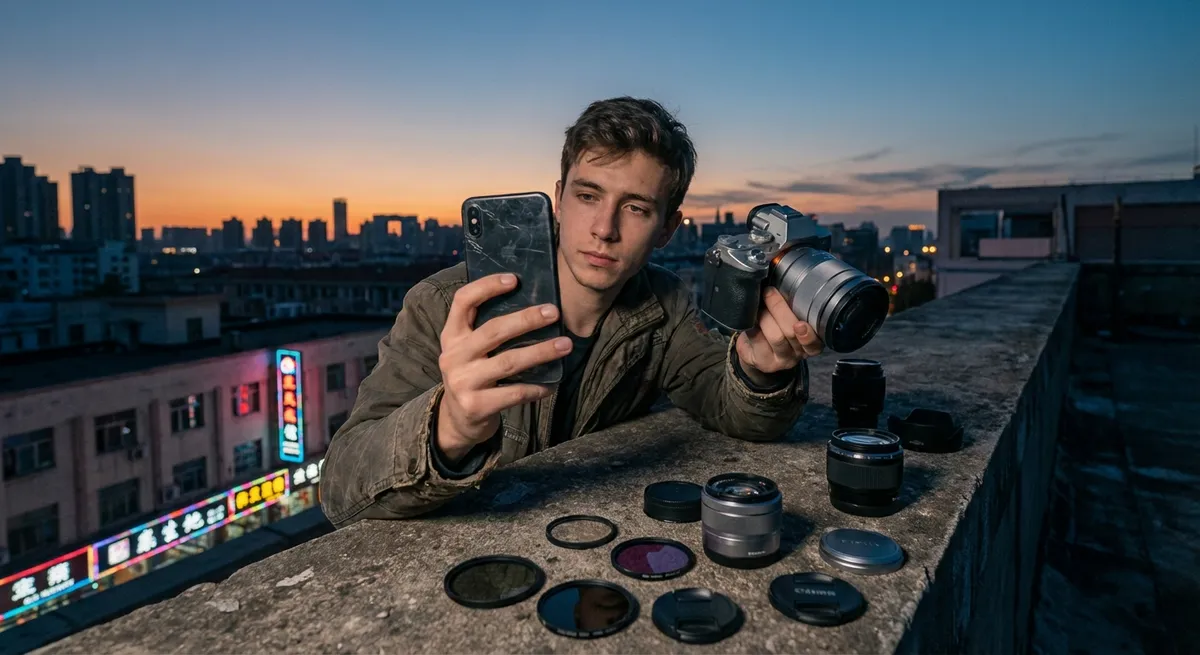
If you’re using a phone, you still have a toolkit: switch to the “telephoto” lens for portraits, the “ultra-wide” for dramatic perspectives, and the main lens for most low-light scenes. Add a small, clip-on diffusion light or LED panel and you’ve effectively upgraded your phone into a pocket camera rig.
**Practical move today:**
List three types of photos you love (portraits, food, travel, etc.). For each, note:
- Which lens (or phone lens) fits that style best
- One limitation you notice with your current gear
That’s your smart upgrade roadmap—not a random wish list.
---
The Exposure Triangle, Demystified (With Real Settings to Try)
Understanding the exposure triangle—aperture, shutter speed, and ISO—is the fastest way to feel in control of your camera instead of guessing.
Aperture: Depth and Mood
Aperture controls how much light enters the lens and how much of the scene is in focus (depth of field).
- **Wide aperture (f/1.4–f/2.8):** More light, shallow depth of field, creamy backgrounds
- **Narrow aperture (f/8–f/16):** Less light, more of the scene in focus—great for landscapes
**Try this portrait setup:**
- Mode: Aperture Priority (A/Av)
- Aperture: f/1.8–f/2.8 (or the lowest your lens allows)
- ISO: Auto, with a max of 1600
- Focus: Single point on the subject’s eye
Watch how the background melts away, and notice how distance matters: the closer you are to your subject and the farther they are from the background, the blurrier that background becomes.
Shutter Speed: Motion in Your Hands
Shutter speed decides whether motion is frozen or blurred.
Approximate starting points:
- 1/60 sec: Handheld minimum for still subjects (with stabilization)
- 1/125–1/250 sec: Walking people, casual street scenes
- 1/500–1/1000 sec: Fast action, kids, sports, wildlife
- 1–5 sec: Light trails, intentional motion blur (use a tripod)
**Try this street exercise:**
- Mode: Shutter Priority (S/Tv)
- Shutter speed: 1/30 sec
- ISO: Auto
- Stand on a busy sidewalk or near a crosswalk; pan the camera as someone walks by, tracking them smoothly.
You’ll get a sharp subject with streaked, dynamic backgrounds—energy and motion in one frame.
ISO: The Secret Ingredient (and Its Trade-Off)
ISO increases your camera’s sensitivity to light. Higher ISO helps in low light but adds digital noise.
Guidelines:
- Daylight: ISO 100–400
- Indoors or evening: ISO 800–3200
- Very dark scenes: ISO 3200–6400 (or higher if your camera handles it)
**Smart habit:** Use Auto ISO with a maximum value you’re comfortable with (e.g., ISO 3200). That way, your camera helps without pushing into unusable noise territory.
---
Focus Like an Artist: Sharp Where It Matters
Sharpness in the right place tells your viewer where to look. The trick is choosing the right focus mode and area.
Focus Modes to Master
- **Single AF (AF-S / One Shot):** For still subjects (portraits, landscapes, products)
- **Continuous AF (AF-C / AI Servo):** For moving subjects (sports, pets, kids)
- **Manual Focus:** For precise control when autofocus struggles (low light, macro, shooting through glass)
Focus Area Tips
- **Single point AF:** Most precise. Use this for critical focus on eyes in portraits.
- **Zone / Flexible area:** Great compromise for moving subjects.
- **Face/Eye detection:** Use it, but double-check—it’s a tool, not magic.
**Portrait drill:**
- Mode: Aperture Priority
- Aperture: f/2–f/2.8
- Focus: Single-point AF, place the point on the near eye
- Take 5–10 portraits of the same person, slightly changing angle each time
Then zoom in on the eyes during playback. This trains your eye to notice when focus is truly nailed.
---
Composition Gear: Tools That Shape Your Story
Some of the most powerful “gear” isn’t glamorous—but it dramatically upgrades your images.
Tripod: Your Stability Superpower
A lightweight travel tripod opens creative doors:
- Long exposures of waterfalls and city lights
- Low-light shots without high ISO
- Self-portraits and group photos where you’re in the frame
**Exercise: Long-exposure magic**
- Find a street with moving cars or a fountain at night
- Mode: Manual (M)
- Settings:
- Aperture: f/8
- Shutter: 5–10 seconds
- ISO: 100
- Use a tripod and a 2-second timer or remote
Watch how ordinary scenes become streaks of light and silky water.
Filters: Quiet Tools with Big Impact
- **Polarizing filter:** Cuts reflections, deepens skies, makes colors richer—amazing for landscapes and water.
- **ND (Neutral Density) filter:** Darkens the scene so you can use longer shutter speeds in bright light (for blurred water, clouds, or crowds).
**Daytime waterfall setup:**
- Tripod
- ND filter (e.g., 6-stop)
- Aperture: f/8–f/11
- ISO: 100
- Shutter: Start at 1–2 seconds, adjust as needed
Your waterfall turns from “snapshot” to silky, dreamlike motion.
Light: The Most Important “Lens” You Own
Even a simple gear addition—like a reflector or small LED—can transform your images more than another expensive lens.
- **Reflector:** Bounce light into shadows for portraits; a cheap 5-in-1 reflector can act as white, silver, gold, or diffuser.
- **Small LED panel:** Adds catchlights to eyes, lifts faces in dark environments, and can be gelled for color.
**Window light portrait:**
- Subject near a window, facing toward the light at about a 45° angle
- Use a white reflector (or a white wall/large paper) on the shadow side of the face
- Camera:
- Mode: Aperture Priority
- Aperture: f/2–f/2.8
- ISO: 400–800
You’ll get soft, flattering portraits with gentle contrast—and you’ve just built a “studio” using a window and a wall.
---
Creative Exercises to Level Up Your Eye (With Any Gear)
Skill beats specs. These exercises train your eye and instincts using whatever camera you have—phone or pro body.
1. One Lens, One Hour
Pick *one* lens or one focal length on your zoom (e.g., 35mm), or lock your phone to one lens (no pinch-to-zoom).
Rules:
- Shoot for one hour
- No changing focal length
- Move your feet to recompose
What you’ll learn: How a focal length “sees,” how to use distance creatively, and how constraint fuels originality.
2. The 10 Frames Challenge
Set a limit: you may only take 10 photos in a 30-minute walk.
Before each shot, ask:
- What’s my subject?
- What’s my background?
- What am I trying to make someone *feel*?
You’ll start shooting with intention instead of impulse, and your keeper rate will climb.
3. Story in Three Photos
Choose a simple story: “Morning coffee,” “My street,” “Waiting at the train station.”
Create:
- A **wide shot** (the environment)
- A **medium shot** (the main subject with some context)
- A **detail shot** (texture, hands, steam, signage)
This trains you to think like a visual storyteller, not just a collector of pretty singles.
4. Light-Only Scavenger Hunt
Ignore subjects. Hunt only for light.
Capture:
- One backlit scene (light behind your subject)
- One side-lit scene (strong light from one side)
- One silhouette (subject dark against a bright background)
- One reflection (in glass, water, or metal)
Switch your mindset from “What can I shoot?” to “How is the light painting the world right now?”
---
Simple Go-To Settings for Common Scenes
Use these as starting points and adjust based on your taste and gear:
**1. Outdoor Portraits (Soft Light / Golden Hour)**
- Mode: Aperture Priority (A/Av)
- Aperture: f/1.8–f/2.8
- ISO: 100–400
- Focus: Single point on the eye
If the background is too bright, use exposure compensation: dial in -0.3 to -1.0 EV to keep your subject from blowing out.
**2. Street & Travel**
- Mode: Aperture Priority
- Aperture: f/4–f/5.6 (balance between subject isolation and context)
- ISO: Auto, max around 3200
- Minimum shutter speed (if your camera supports it): 1/250 sec
This keeps you fast enough to freeze candid motion while letting the camera manage shifting light.
**3. Landscapes**
- Mode: Aperture Priority
- Aperture: f/8–f/11
- ISO: 100
- Use a tripod if light is low
Focus about one-third into the scene or on a subject in the mid-ground for balanced sharpness.
**4. Low-Light Indoors (No Flash)**
- Mode: Aperture Priority
- Aperture: widest your lens allows (e.g., f/1.8–f/2.8)
- ISO: 1600–3200
- Enable image stabilization if available
Look for pools of light—near lamps, windows, or screens—rather than trying to brighten everything.
---
Growing with Your Gear: When to Upgrade (and When Not To)
The best time to upgrade is when you:
- Consistently hit a *real* limitation (e.g., your lens can’t open wider, your camera struggles with focus in low light)
- Understand *why* you want a specific feature (e.g., weather sealing, better autofocus, more dynamic range), not just “newer is better”
Smart upgrade path:
1. **Lens first:** A good prime or sharper zoom often changes your images more than a new body.
2. **Light second:** Reflector, flash, or LED—controlling light is a superpower.
3. **Body last:** When you’ve clearly outgrown your current camera’s capabilities.
In the meantime, pour energy into shooting, editing, and studying light. Every hour spent with your current gear pays off when you eventually upgrade—you’ll actually know how to use the new tools.
---
Conclusion
Your camera is more than a device; it’s a passport into how you see the world. Mastering settings, understanding simple gear, and practicing with intention will do more for your photography than any unboxed gadget ever could.
Start with what you have. Shoot today, review honestly, learn one thing, and shoot again tomorrow. The gap between the images you dream of and the ones you create closes one frame at a time—and you already hold the key in your hands.
---
Sources
- [Nikon School – Understanding the Exposure Triangle](https://www.nikonusa.com/en/learn-and-explore/a/tips-and-techniques/understanding-exposure-the-exposure-triangle.html) - Clear overview of aperture, shutter speed, and ISO with examples
- [Canon USA – Basics of Autofocus](https://www.usa.canon.com/support/guide-lenses/guide-to-eos-focus-modes) - Detailed explanation of focus modes and when to use each one
- [B&H Explora – Beginner’s Guide to Filters](https://www.bhphotovideo.com/explora/photography/buying-guide/beginners-guide-to-filter-types) - Practical breakdown of polarizing and ND filters and their creative uses
- [Adorama Learning Center – Portrait Photography Tips](https://www.adorama.com/alc/portrait-photography-tips) - Techniques for lighting, composition, and lens choice in portrait work
- [National Park Service – Night Sky Photography Tips](https://www.nps.gov/articles/night-sky-photography.htm) - Official guidance on low-light and long-exposure techniques in outdoor spaces